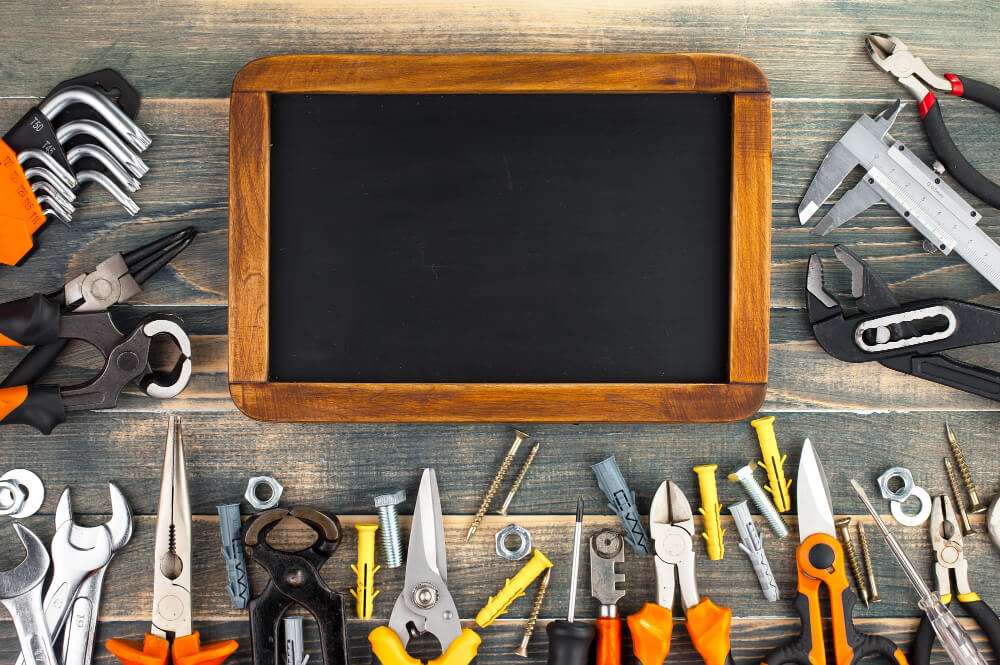
If you’re looking to add a fresh look to your workspace or home office, creating a custom shadow board is an ideal way to make it happen. A shadow board is a specialized organizational tool commonly used in workplaces to keep track of equipment, tools, and other items necessary for a particular job.
Essentially, it is a board that contains outlines or outlines of the tools that belong in a particular area or on a particular machine. Each outline is accompanied by a label or tag indicating the name and quantity of the designated tool.
This allows workers to easily identify if a tool is missing or not in its correct location. Shadow boards not only help maintain a tidy workplace but also improve efficiency by reducing the time it takes to find and retrieve the correct tools.
By arranging and mounting items onto a background in deliberate configuration, you can design the perfect personal statement for any space! In this step-by-step tutorial post, we’ll teach you everything about how to make a shadow board successfully- from preparing the materials to completing the project. Let’s dive right into it!
Read more: 5s Red Tags – The Correct Way To Use A Simple Lean Tool
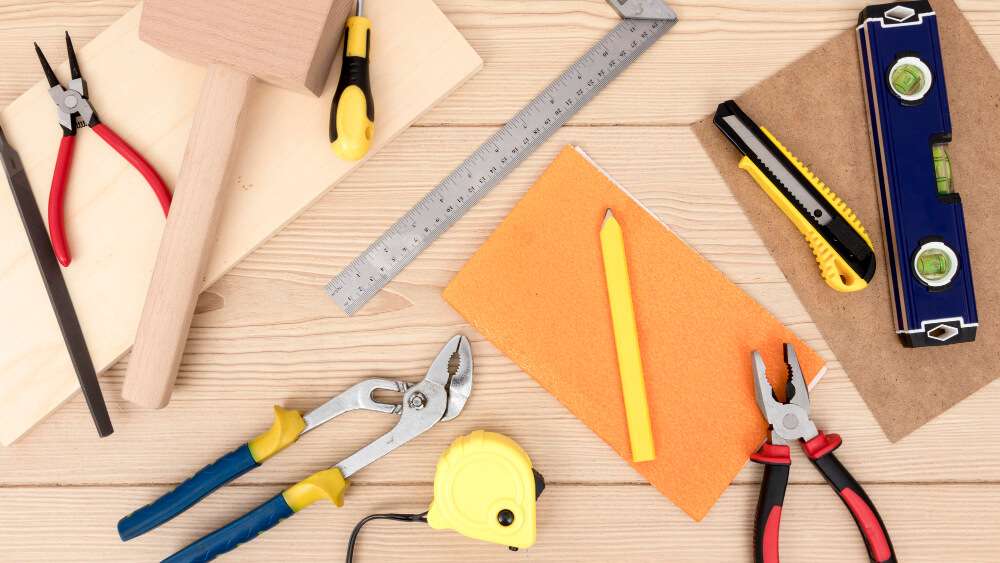
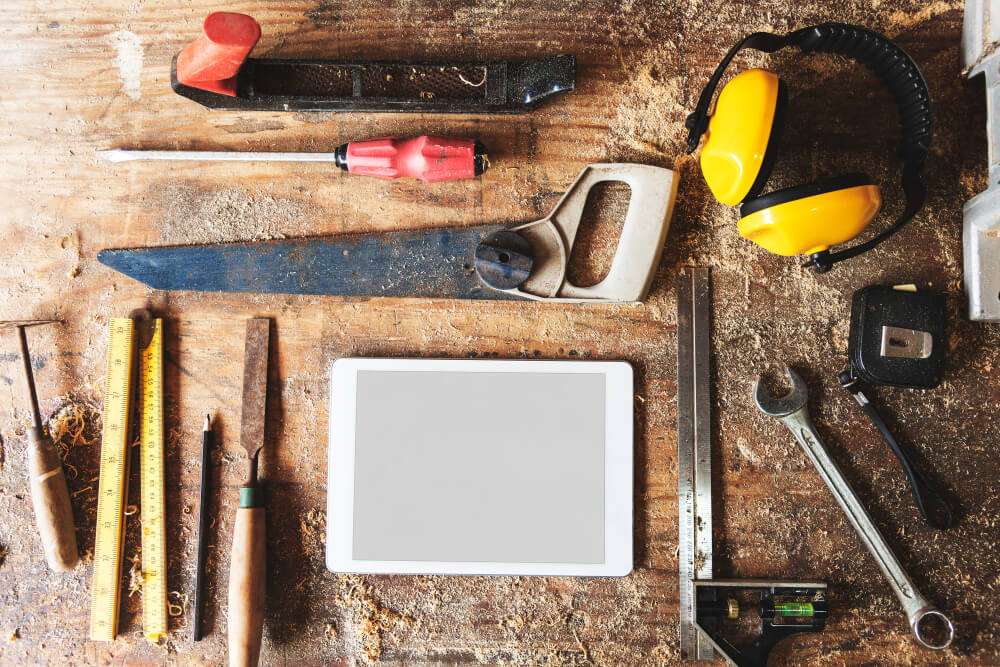
1. Gather Materials And Tools Needed For The Project
When embarking on a DIY shadow board project, it’s crucial to begin with a thorough understanding of the materials and tools required.
Taking the time to make accurate measurements and selecting the correct materials and tools is crucial to ensure that the final product is not only aesthetically pleasing but also functional.
Firstly, you’ll need to assess the size of the shadow board you want to build, as this will determine the amount of wood you’ll need. Ensure that you select a high-quality, sturdy wood that can support the weight of your tools without bending or buckling.
You’ll also need to invest in a saw (either a handsaw or a circular saw, depending on your preference and skill level) to cut the wood to size. A staple gun will be essential for attaching the backing board and any additional elements to the frame of the shadow board.
Don’t forget other essential items such as screws, nails, and wood glue. When gathering your materials, be mindful of your budget and try to source everything from reputable stores.
By closely considering the materials and tools needed at the outset of your project, you’ll be laying the foundation for a successful and functional shadow board that will serve your needs for years to come.
2. Measure And Mark
After following step 1 measuring and marking where it will be placed on the wall is a crucial step that requires careful consideration.
Firstly, you should think about the size and shape of the tools that will be hung on the board, as this will determine the size and placement of the board itself. It’s important to ensure that the shadow board is located in an accessible area so that tools are easy to retrieve and use.
Further, the board should be positioned at a height that is comfortable for the user. Finally, it’s important to take into account any obstacles on the wall, such as light switches or power outlets, and adjust the placement accordingly.
By taking these factors into consideration, you can ensure that your shadow board is both functional and visually appealing.
3. Cut And Shape The Wood According To Your Measurements
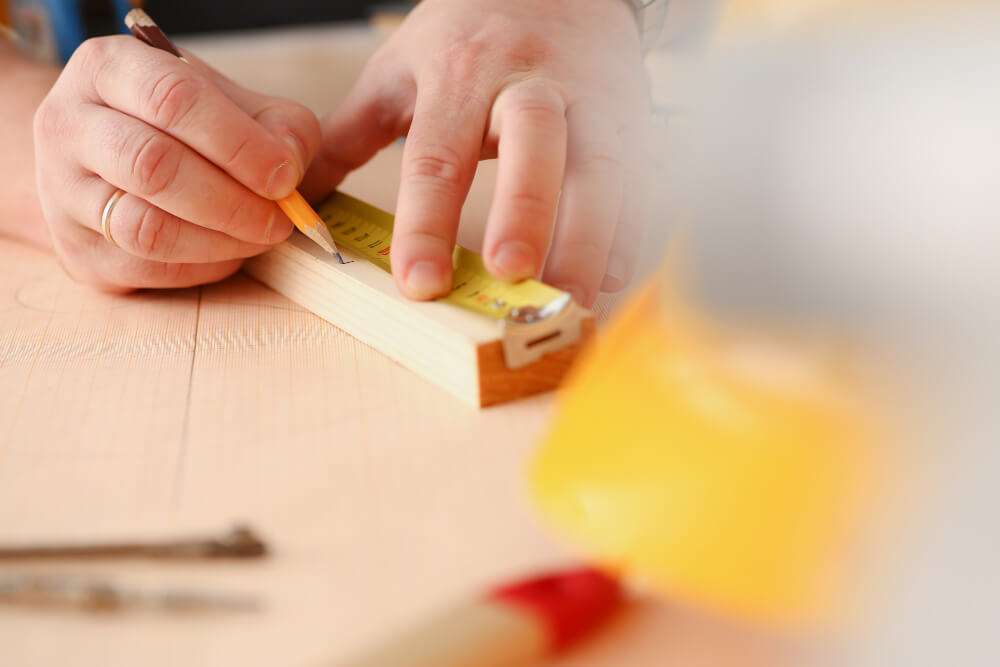
When it comes to making how to make a shadow board, precision is key. Step 3 requires you to cut and shape the wood according to your measurements. Firstly, you’ll need to carefully measure out the dimensions of your board and mark them on the wood before making any cuts. This will minimize the risk of mistakes and ensure everything fits together neatly.
As you shape the wood, it’s essential to maintain accuracy and symmetry, ensuring that every cut and curve align as intended. For that, you will need to choose the right type of saw for the job, depending on the thickness and hardness of the wood you’re working with.
Once the wood has been cut, it must be shaped to fit the tools and equipment that will be stored on the shadow board. This can be achieved with a variety of tools, such as a router or sandpaper.
However, depending on the size of the board, you may need to make multiple cuts or use different tools to get the job done. Keep in mind that each piece of wood will need to fit together like a puzzle.
Moreover, during this step, safety should also be a top priority, and protective gear such as gloves, goggles, and a dust mask should be worn. Taking time and care during this stage will guarantee a perfectly crafted and functional shadow board.
4. Staple Gun The Board To The Wall
Once you have selected the appropriate board and cut it down to the desired size, the next step is to staple the gun to the wall. Before proceeding with this step, it is important to ensure that the wall is clear of any debris or dirt that may interfere with the adhesion of the board.
Additionally, it is crucial to choose the proper staples for the task at hand, as the wrong type of staple may damage the board or fail to properly secure it to the wall.
To execute this step, position the board against the wall and use the staple gun to drive staples through the board and into the wall. It is recommended to start by placing a single staple in the center of the board and then working your way out toward the corners, ensuring that the board is properly aligned as you go.
By following these guidelines for stapling your shadow board, you can be confident that it will be securely attached to the wall and ready for use.
5. Drill Holes Into The Board Where Appropriate
To ensure that your tools are securely held in place, you will need to drill holes into the board where appropriate. It’s important to consider the size and shape of your tools when deciding which holes to create, as well as their weight and frequency of use.
You’ll also need to think about how you want to organize your tools on the board. Do you want them sorted by type or size? Or perhaps you want them arranged in the order that you use them most frequently? Once you’ve determined the placement and size of the holes, you’ll need to create them using a drill.
To begin, create a pilot hole. From there, carefully drill the full hole to the appropriate depth. Take care to leave enough clearance around the hole for easy access to the tool, while also ensuring a snug fit to prevent tools from falling off or becoming loose
It’s vital to use the appropriate drill bit and to work carefully and methodically, to avoid damaging the board or injuring yourself.
6. Place Desired Items Onto The Board
The last step in how to make a shadow board is to place the tools on the board. When considering this step, it is important to think about the function and purpose of each tool or item. This entails placing items in a strategic and ergonomic way that will make them easily accessible during use.
To do this, it is recommended to arrange the tools according to their frequency of use or by grouping them by task or function. Besides, it is important to ensure that the items are securely fastened to the board to prevent them from falling off or going missing.
By following these simple steps of how to make a shadow board for tools, you can create a well-organized and efficient shadow board that will benefit your workspace tremendously.
Conclusion
How to make a foam shadow board is no easy task but with the right preparation and skills, anyone can have a beautifully crafted item to hang in their home. Whether you decide to buy ready-made materials or source them on your own, the steps will remain the same.
From gathering materials and tools to measuring, cutting, stapling, arranging, and drilling items onto the board. You don’t have to rush into this project, instead plan and prepare before jumping head first into it so that you can ensure you produce an item of quality and something you could be proud of in the end.